
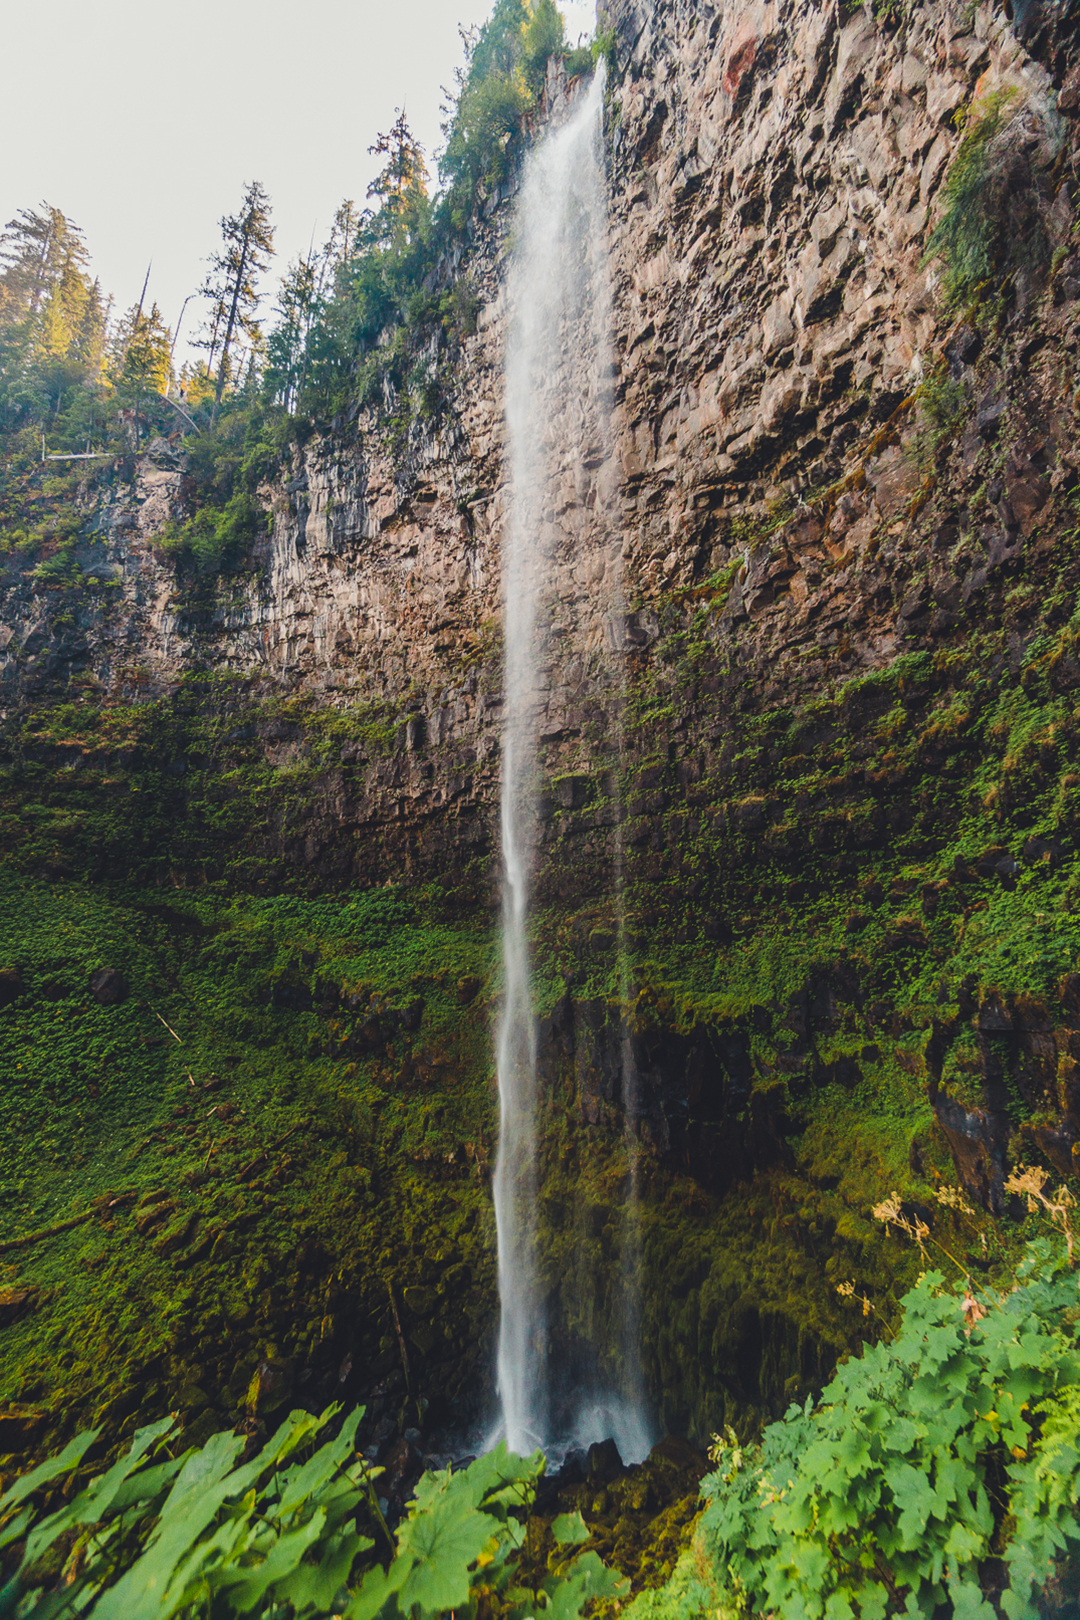
When we first planned our Oregon trip, I knew that I wanted to visit Toketee Falls. I saw a lot of amazing photos and I couldn’t help but want one for myself. When I was researching Toketee Falls and how to get to the bottom, I couldn’t find that much information on it. I figured that I must not be the only person so I thought I would start a Photography Series on how I got my photo so people in the future can experience it too!
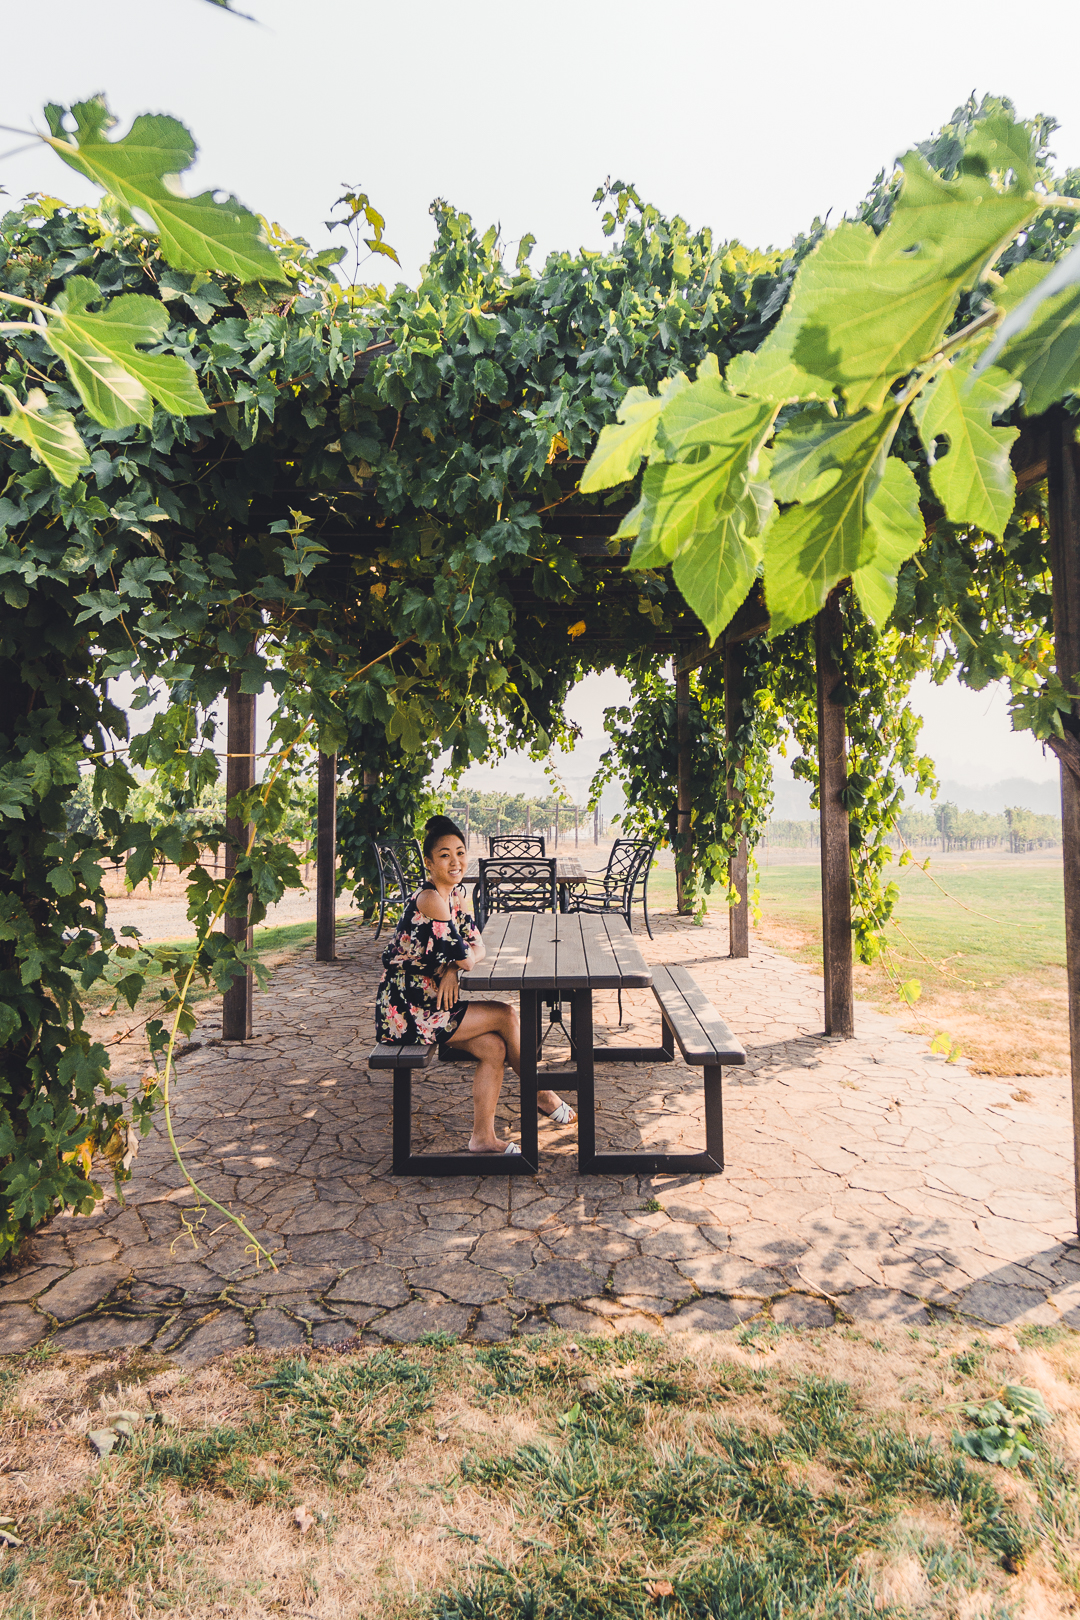
There aren’t a lot of options to stay near Toketee Falls so we ended up staying in Roseburg about an hour away. It’s a small town but does have quite a few motel options. We ended up staying at the Best Western Garden Villa Inn since it was cheap and had decent ratings. The rooms were your typical motel-style decor, but I will give credit to their breakfast. Even during COVID, it was one of the best free breakfasts I’ve ever had.
GETTING THERE AND PARKING
We left Roseburg around 7:45 a.m. hoping to get to Toketee Falls somewhere around 9:00 a.m. If you’re the type of person that likes to make stops along the way, I suggest you leave sooner. There were a bunch of beautiful pull-outs along the road to take photos. The drive itself was gorgeous, especially seeing the sun peek through the trees. Once we arrived, we were probably the fourth car in the parking lot. By the time we left, the whole lot was full. I would say that the lot can probably fit somewhere around 15 cars.


TOKETEE FALLS TRAIL
The trail itself is really easy and probably only took ten minutes to get to the observation platform. The hike is well covered by trees and was a little chilly since it was still the morning. Make sure you stop at the lookout in the middle of the trail to see the waterfall heart. I almost missed it because I was looking the wrong way. By the end of the trail, it turns into man-made steps that lead out onto a platform overlooking the falls.


HIKING TO THE BASE OF TOKETEE FALLS
To get down to the base of the falls, you have to hike down an unofficial trail and it begins with entering through a hole in the fence. The hole is pretty small so I recommend you take off your backpack or any gear you have on. Next, you’re going to hike down the side of the cliff. You will definitely have to hold onto rocks and roots to stabilize yourself. It does get a little bit slippery because of the loose dirt, but as long as you take it slow, you should be okay. Luckily, we did not fall, but we did see someone else slip onto their rear end so just be careful.
About halfway down, you will see a rope and you want to be extra careful here. It’s a one-person-at-a-time type of deal and it’s pretty much straight down. The tree roots were very helpful and we tended to stay on the right side if you’re facing the mountain. After this part, it’s just a short hike to the water.


HOW TO GET THAT INSTAGRAM WORTHY PICTURE
We probably got to Toketee Falls around 9:15 a.m. and the sun was just barely peeking through the top of the mountain. There were probably 3-4 groups already there taking pictures, but still plenty of room to pick a rock and have no one else in your photo. FYI, It was absolutely freezing down there. It was at least 10-15 degrees colder than it was up on the platform so make sure you bring a jacket.
As you can see from the photo below, I set up my camera on a tripod with my wide-angle lens. I wanted to do a long exposure to get that milky effect on the waterfall. I also used a polarizing filter to help reduce the reflection in the water. It was my first time using one and I think it came out pretty good! One thing I regret is that I was not diligent about wiping my lens. The mist from the waterfall will get on your lens so make sure you check on it often. Unfortunately, I didn’t notice until I saw my pictures once I got home, but now I’ll remember for next time.
For the picture where my back is facing the camera and I’m looking towards Toketee Falls, I had to move a couple of times to find an angle that I liked. I wanted to see the whole waterfall and have myself centered. My boyfriend helped me take the picture since setting up my tripod was too much work and I didn’t want to keep running back and forth to my camera. You will want to find a lower-level rock and have your tripod or photographer stand higher than you so you can get your whole body and the waterfall. Just for fun, I added some photos of myself that didn’t make the Instagram cut. If I had to do it again, I would try hopping around different rocks to get different angles and perspectives.
CONCLUSION
Well, I hoped you enjoyed this blog post and it was helpful if you plan on going there. I’m hoping to do a lot more of these posts so thoughts or recommendations would be greatly appreciated. Also, if you’re interested in other waterfalls in the area, check out my blog post on the best waterfall hikes in Umpqua National Forest. Free feel to leave your comments below as I do read every single one of them. Stay safe everyone!

 ISO 100, 18mm (wide angle zoom), f/22, 0.6 sec
 ISO 100, 35mm (prime), f/22, 0.6 sec
 ISO 100, 10mm (wide angle zoom), f/22, 0.6 sec


 ISO 100, 13mm (wide angle zoom), f/4, 1/60 sec
Pingback: Best Waterfalls Hikes in Umpqua National Forest - The Luxury Lowdown
Pingback: Photography Series : Palouse Falls - The Luxury Lowdown